


EPDM rubber granules are one of the most popular materials for safety flooring, sports surfaces, playgrounds, running tracks, and commercial decorative flooring, thanks to their excellent durability, shock absorption, UV resistance, and color retention.
Beyond plain solid-color surfaces, more and more project owners demand complex custom patterns—including logos, geometric graphics, cartoon characters, themed designs, and precise color-blocking—to boost aesthetics and functionality.
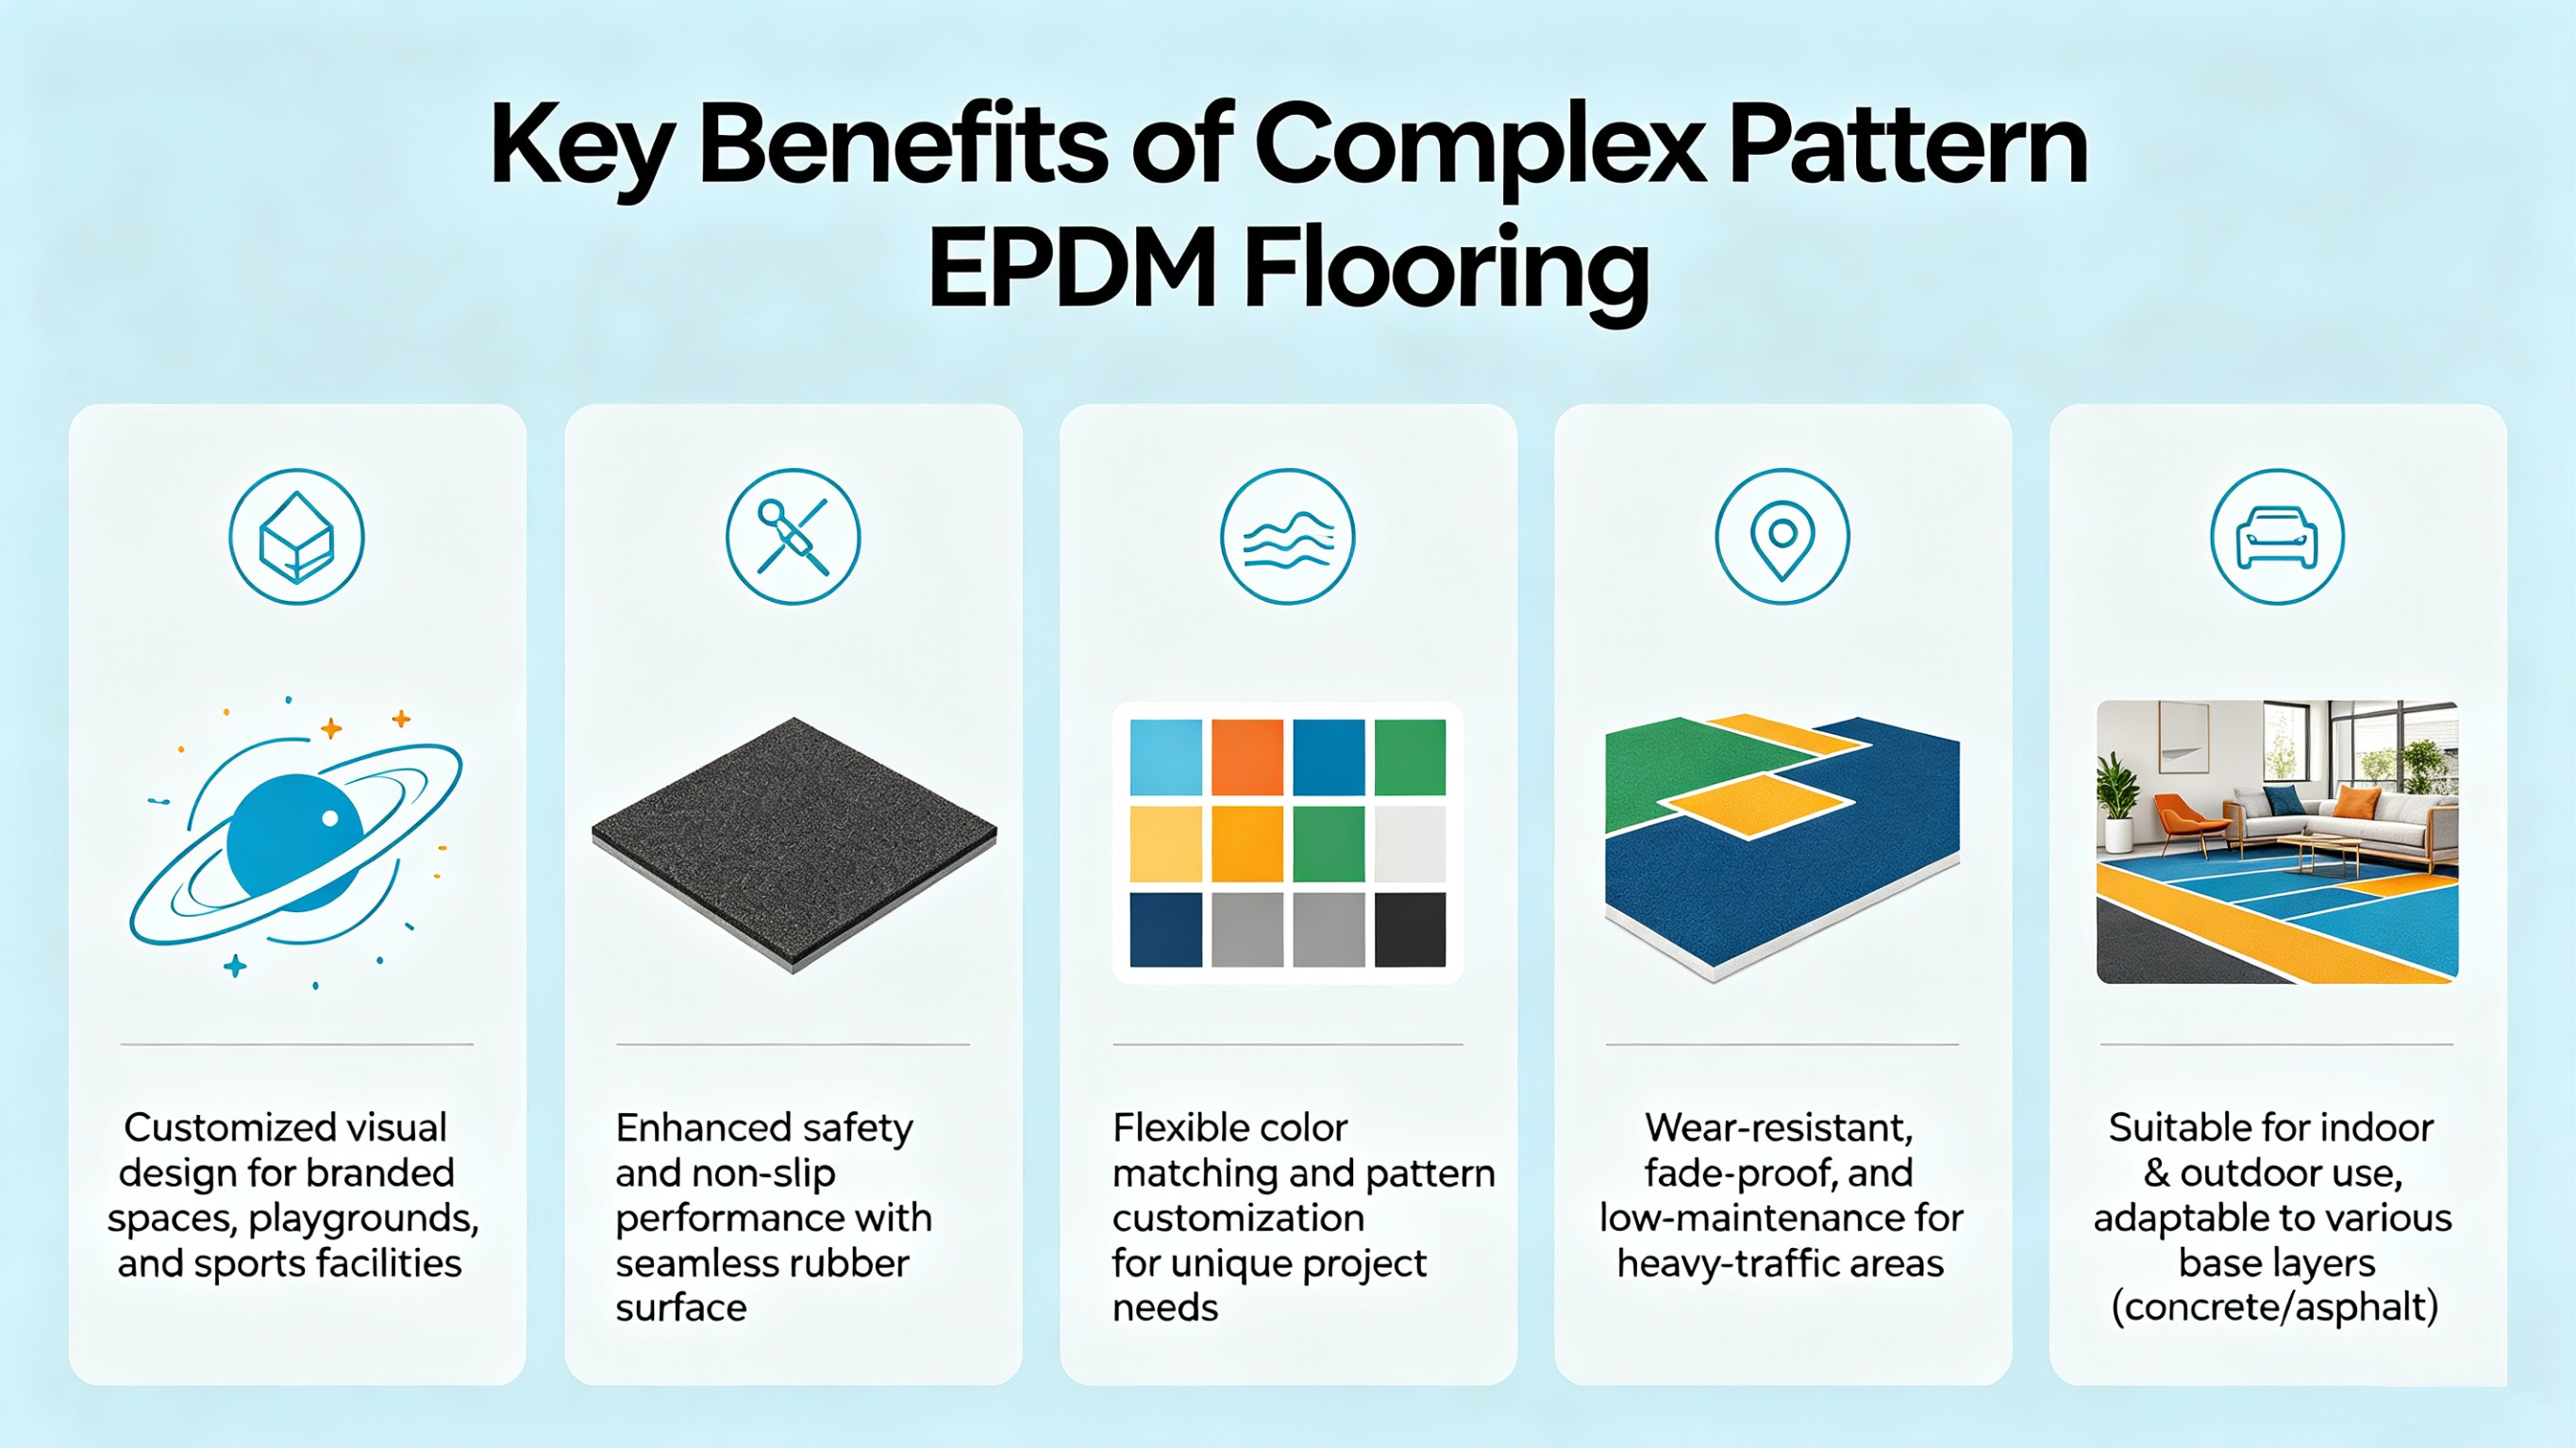
Key Benefits of Complex Pattern EPDM Flooring
• Customized visual design for branded spaces, playgrounds, and sports facilities• Enhanced safety and non-slip performance with seamless rubber surface
• Flexible color matching and pattern customization for unique project needs
• Wear-resistant, fade-proof, and low-maintenance for heavy-traffic areas
• Suitable for indoor & outdoor use, adaptable to various base layers (concrete/asphalt)
Top 4 Methods to Create Complex Patterns with EPDM Granules
1. Custom Mold & Inlay Method (Best for Intricate Shapes)This is the most widely used technique for detailed, fixed patterns like logos, cartoon images, and circular graphics, delivering clean, consistent edges.
• Step 1: Make precision molds (plywood, polystyrene, or plastic) matching the pattern shape, with the same thickness as the EPDM surface layer.
• Step 2: Fix the mold firmly on the primed base layer to prevent shifting during construction.
• Step 3: Pour and level the base-color EPDM mixture around the mold, compact it evenly.
• Step 4: After the base layer is partially cured, remove the mold carefully.
• Step 5: Fill the empty pattern area with contrasting-color EPDM granules, trowel to the same thickness, and compact smoothly.
• Step 6: Prime the joint edges to ensure firm bonding and avoid later cracking or separation.
2. Wet-on-Wet Color Transition Technique (For Seamless Patterns)
Ideal for soft, seamless color gradients and irregular patterns without hard boundaries, this method requires skilled construction crews.
• Step 1: Lay the first color EPDM mixture while keeping the surface sticky and uncured.
• Step 2: Use temporary thin plastic films or fine dividers to separate pattern areas immediately.
• Step 3: Pour the second color EPDM mixture into the designated area, blend the joint slightly with a trowel.
• Step 4: Remove dividers gently and level the entire surface, ensuring no color granule contamination.
• Step 5: Allow full curing under suitable temperature and humidity, avoiding rain or dust.
3. Precision Cutting & Inlay Technique (For Complex Logos & Fine Details)
Perfect for high-precision, sharp-edged complex patterns and brand logos, delivering professional, clean finishes.
• Step 1: Install the full base-color EPDM surface layer and let it cure completely.
• Step 2: Transfer the complex pattern onto the cured surface accurately.
• Step 3: Use a precision cutting tool to cut along the pattern lines, remove the cut EPDM section.
• Step 4: Prime the cut edges thoroughly to improve adhesion of the inlay layer.
• Step 5: Fill the cut area with contrasting EPDM mixture, compact and level it.
• Step 6: Smooth the joint and perform secondary compaction to eliminate gaps and ensure durability.
4. Laser Projection & Partition Block Method (For Large-Scale Complex Patterns)
Suitable for large-area flooring with detailed, multi-color complex patterns (running tracks, large playgrounds), ensuring high positioning accuracy.
• Step 1: Project the digital pattern design onto the base layer using a laser positioning device.
• Step 2: Install temporary metal or plastic partitions along the projected lines to separate different color zones.
• Step 3: Pour and compact each color EPDM mixture block by block, maintaining consistent thickness.
• Step 4: Remove partitions after the mixture is semi-cured, repair and smooth the joints.
• Step 5: Conduct full surface leveling and curing, ensuring overall pattern integrity.
Critical Pro Tips for Long-Lasting Complex EPDM Patterns
1. Control Construction Environment: Work in dry, mild conditions (15-30℃), avoid rainy, high-humidity, or low-temperature environments to ensure proper curing.2. Avoid Color Contamination: Clean tools and mixing equipment thoroughly between color changes; use separate mixing containers for different colors.
3. Even Compaction: Ensure consistent compaction force across the surface to prevent unevenness or pattern distortion.
4. Adequate Curing Time: Allow full curing (usually 24-48 hours) before foot traffic or further construction to prevent peeling and pattern damage.
5. Edge Sealing: Seal all pattern joints with special binder to enhance durability and prevent long-term cracking.
Common Mistakes to Avoid
• Unclean base layer leading to poor adhesion and pattern layer peeling• Inaccurate pattern positioning causing design distortion
• Insufficient priming of color joints resulting in cracking and separation
• Rushing curing time leading to soft surfaces and pattern damage
• Uneven binder mixing causing color fading and surface weakness
Final Thoughts
Creating complex patterns with EPDM granules turns ordinary safety flooring into a functional, decorative, and branded surface.Always rely on experienced EPDM construction crews and high-quality materials to ensure your custom patterns stay sharp, vibrant, and long-lasting for years.
Whether it’s a school playground, professional sports track, commercial facility, or branded public space, complex EPDM patterns deliver both visual appeal and reliable performance.
